Securely Connect Raspberry Pi With The VPC Network And Remote IoT P2P
Connecting a Raspberry Pi securely to a Virtual Private Cloud (VPC) network and enabling remote IoT peer-to-peer (P2P) communication is a critical step for modern IoT projects. Whether you are building a smart home system, managing industrial IoT devices, or deploying edge computing solutions, ensuring secure connectivity is paramount. This article will guide you through the process of securely integrating a Raspberry Pi into a VPC network while enabling remote IoT P2P communication. By following the steps outlined here, you can enhance the security, reliability, and efficiency of your IoT infrastructure.
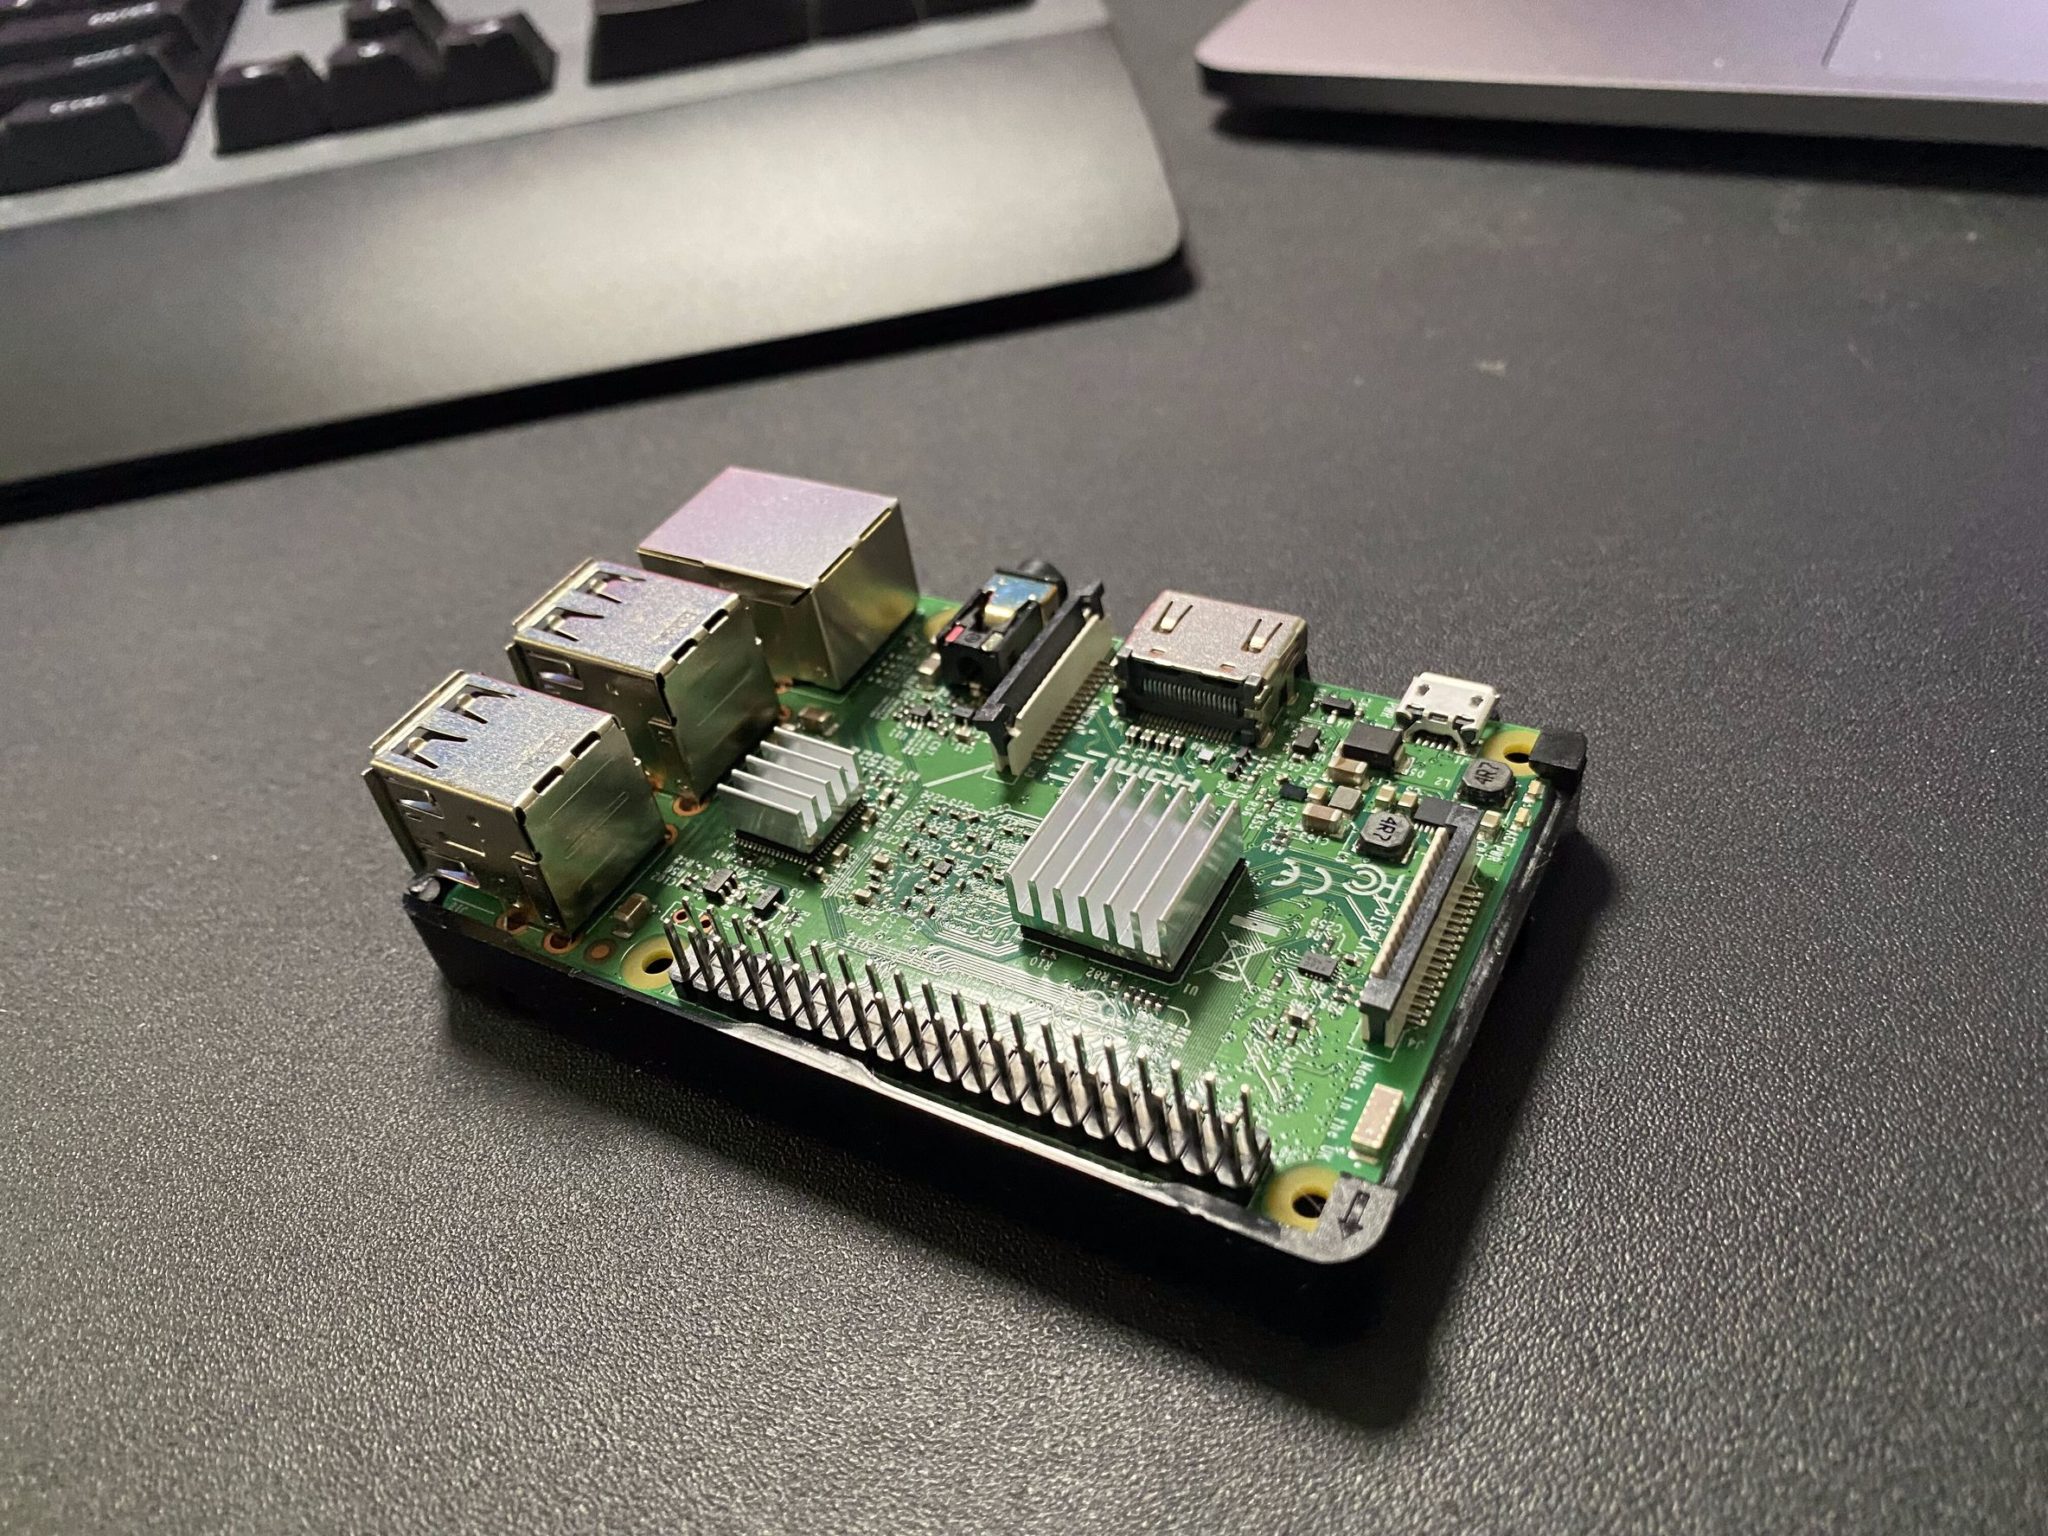
The Raspberry Pi, a versatile and affordable single-board computer, has become a cornerstone for IoT projects. However, its small size and affordability come with challenges, especially in terms of security and network integration. Connecting a Raspberry Pi to a VPC network ensures that your device operates within a secure, isolated environment, reducing the risk of unauthorized access. Additionally, enabling remote IoT P2P communication allows you to manage and interact with your devices from anywhere in the world, making it an essential feature for scalable IoT deployments.
In this article, we will explore the technical aspects of securely connecting a Raspberry Pi to a VPC network and enabling remote IoT P2P communication. From setting up the VPC network to configuring the Raspberry Pi and implementing advanced security measures, we will cover everything you need to know. By the end of this guide, you will have a comprehensive understanding of how to integrate your Raspberry Pi into a secure IoT ecosystem, ensuring that your devices are both accessible and protected.
Table of Contents
- Introduction to VPC Networks
- Preparing Your Raspberry Pi
- Configuring VPC Network for Raspberry Pi
- Establishing Secure Connections
- Enabling Remote IoT P2P Communication
- Securing Your Setup
- Monitoring and Maintenance
- Best Practices for IoT Security
- Case Study: Raspberry Pi in Smart Home
- Conclusion
Introduction to VPC Networks
A Virtual Private Cloud (VPC) network is a virtualized environment that allows you to create isolated networks within a cloud infrastructure. VPC networks provide a secure and scalable way to manage resources, such as servers, databases, and IoT devices, by isolating them from the public internet. This isolation enhances security and ensures that only authorized users and devices can access your resources.
When it comes to IoT projects, VPC networks offer several advantages. First, they provide a secure environment for your devices, reducing the risk of cyberattacks and unauthorized access. Second, VPC networks allow you to segment your IoT devices into different subnets, making it easier to manage and monitor them. Finally, VPC networks enable you to implement advanced security measures, such as firewalls, intrusion detection systems, and encryption protocols.
For Raspberry Pi users, integrating with a VPC network is a game-changer. It allows you to leverage the power of cloud computing while maintaining control over your IoT devices. By connecting your Raspberry Pi to a VPC network, you can ensure that your devices are both secure and accessible, paving the way for scalable and reliable IoT deployments.
Preparing Your Raspberry Pi
Before you can connect your Raspberry Pi to a VPC network, you need to ensure that it is properly configured and ready for integration. Start by updating your Raspberry Pi's operating system and software packages to the latest versions. This ensures that you have the latest security patches and features available.
Updating Software
To update your Raspberry Pi, open a terminal and run the following commands:
sudo apt update sudo apt upgradeThese commands will update your package lists and upgrade all installed packages to their latest versions. It is also a good idea to install any additional software or tools that you may need for your IoT project, such as network monitoring tools or encryption libraries.
Configuring Network Settings
Next, configure your Raspberry Pi's network settings to ensure that it can connect to your VPC network. You will need to set a static IP address for your Raspberry Pi to avoid conflicts with other devices on the network. To do this, edit the /etc/dhcpcd.conf file and add the following lines:
interface eth0 static ip_address=192.168.1.100/24 static routers=192.168.1.1 static domain_name_servers=8.8.8.8Replace the IP address and gateway with the appropriate values for your network. Once you have updated the file, restart the networking service using the following command:
sudo systemctl restart dhcpcdConfiguring VPC Network for Raspberry Pi
Configuring a VPC network for your Raspberry Pi involves several steps, including setting up subnets, configuring routing tables, and enabling security groups. These steps ensure that your Raspberry Pi can communicate securely with other devices in the network.
Creating a VPC
To create a VPC, log in to your cloud provider's console and navigate to the VPC management section. Create a new VPC and specify the IP address range for your network. For example, you can use the CIDR block 10.0.0.0/16 to define your VPC's address space.
Setting Up Subnets
Once your VPC is created, set up subnets to segment your network. For example, you can create a public subnet for devices that need internet access and a private subnet for devices that should remain isolated. Assign your Raspberry Pi to the appropriate subnet based on its role in your IoT project.
Configuring Routing Tables
Routing tables determine how traffic flows within your VPC. Create a routing table for your VPC and add routes to direct traffic to the appropriate subnets. For example, you can add a route to direct internet-bound traffic to an internet gateway.
Establishing Secure Connections
Establishing secure connections between your Raspberry Pi and the VPC network is crucial for protecting your IoT devices. This involves implementing encryption protocols, setting up firewalls, and using secure authentication methods.
Using SSH for Secure Access
Secure Shell (SSH) is a protocol that allows you to securely access your Raspberry Pi over a network. To enable SSH, open the Raspberry Pi configuration tool and enable the SSH server. You can then connect to your Raspberry Pi using an SSH client, such as PuTTY or OpenSSH.
Implementing VPN for Secure Communication
A Virtual Private Network (VPN) provides an additional layer of security by encrypting all traffic between your Raspberry Pi and the VPC network. Set up a VPN server in your VPC and configure your Raspberry Pi to connect to it using a VPN client.
Enabling Remote IoT P2P Communication
Remote IoT P2P communication allows you to manage and interact with your devices from anywhere in the world. This involves setting up a P2P network, configuring NAT traversal, and using secure communication protocols.
Setting Up P2P Network
To set up a P2P network, use a P2P communication protocol such as WebRTC or MQTT. These protocols allow devices to communicate directly with each other without the need for a central server.
Configuring NAT Traversal
Network Address Translation (NAT) traversal is a technique that allows devices behind NAT to communicate with each other. Use a STUN or TURN server to facilitate NAT traversal for your Raspberry Pi.
Securing Your Setup
Securing your Raspberry Pi and VPC network involves implementing advanced security measures, such as firewalls, intrusion detection systems, and encryption protocols. These measures ensure that your IoT devices are protected from cyberattacks and unauthorized access.
Implementing Firewalls
Firewalls control incoming and outgoing network traffic based on predefined security rules. Configure a firewall in your VPC to block unauthorized access to your Raspberry Pi and other IoT devices.
Using Encryption Protocols
Encryption protocols, such as TLS and SSL, protect data in transit by encrypting it. Use these protocols to secure communication between your Raspberry Pi and other devices in the network.
Monitoring and Maintenance
Monitoring and maintaining your Raspberry Pi and VPC network is essential for ensuring their long-term reliability and security. This involves setting up monitoring tools, performing regular maintenance, and addressing any issues that arise.
Setting Up Monitoring Tools
Use monitoring tools, such as Nagios or Prometheus, to monitor the performance and security of your Raspberry Pi and VPC network. These tools provide real-time insights into your network's health and alert you to any issues.
Performing Regular Maintenance
Perform regular maintenance tasks, such as updating software, backing up data, and testing security measures. These tasks ensure that your Raspberry Pi and VPC network remain secure and reliable.
Best Practices for IoT Security
Implementing best practices for IoT security is crucial for protecting your devices and data. These practices include using strong passwords, enabling two-factor authentication, and regularly updating software.
Using Strong Passwords
Use strong, unique passwords for all your IoT devices and accounts. Avoid using default passwords and change them regularly to reduce the risk of unauthorized access.
Enabling Two-Factor Authentication
Two-factor authentication (2FA) adds an extra layer of security by requiring users to provide two forms of identification. Enable 2FA for all your IoT devices and accounts to enhance their security.
Case Study: Raspberry Pi in Smart Home
A smart home project using Raspberry Pi demonstrates the practical application of securely connecting IoT devices to a VPC network. In this case study, we explore how a Raspberry Pi was used to manage smart home devices, such as lights, thermostats, and security cameras, while ensuring secure communication and remote access.
Project Overview
The project involved setting up a Raspberry Pi as a central hub for managing smart home devices. The Raspberry Pi was connected to a VPC network to ensure secure communication and remote access. A P2P network was also established to enable direct communication between devices.
Results and Lessons Learned
The project successfully demonstrated the feasibility of using a Raspberry Pi to manage smart home devices securely. Key lessons learned include the importance of secure network configuration, the benefits of using a VPC network, and the need for regular monitoring and maintenance.
Conclusion
Securely connecting a Raspberry Pi to a VPC network and enabling remote IoT P2P communication is a critical step for modern IoT projects. By following the steps outlined in this article, you can ensure that your IoT devices are both secure and accessible, paving the way for scalable and reliable deployments.
We encourage you to implement the techniques and best practices discussed in this article to enhance the security and reliability of your IoT projects. If you have any questions or would like to share your experiences, please leave a comment below. Additionally, feel free to explore our other articles for more insights into IoT and network security.

Detail Author:
- Name : Herminia Larson
- Username : felicia.jakubowski
- Email : christy00@satterfield.com
- Birthdate : 2007-04-09
- Address : 82604 Veum Isle Suite 467 Kemmerton, OK 63866
- Phone : 743.410.1899
- Company : Towne-Wisozk
- Job : Decorator
- Bio : Earum nesciunt non expedita sed commodi facilis rerum. Neque quas quam pariatur in. Impedit aut ducimus voluptatem ipsa. Tempore nam iste porro itaque mollitia ratione reprehenderit.
Socials
instagram:
- url : https://instagram.com/watson_o'connell
- username : watson_o'connell
- bio : Laboriosam consectetur aut sed. Molestiae officiis aut quaerat dolores dolores qui est.
- followers : 6558
- following : 2208
facebook:
- url : https://facebook.com/watson.o'connell
- username : watson.o'connell
- bio : Praesentium facilis fugiat similique illo ea sint.
- followers : 4726
- following : 686
linkedin:
- url : https://linkedin.com/in/watson_real
- username : watson_real
- bio : Ut sint ut saepe ut. Non veritatis iste dicta.
- followers : 1777
- following : 1123


 network and enabling remote IoT peer-to-peer (P2P) communication is a critical step for mode)